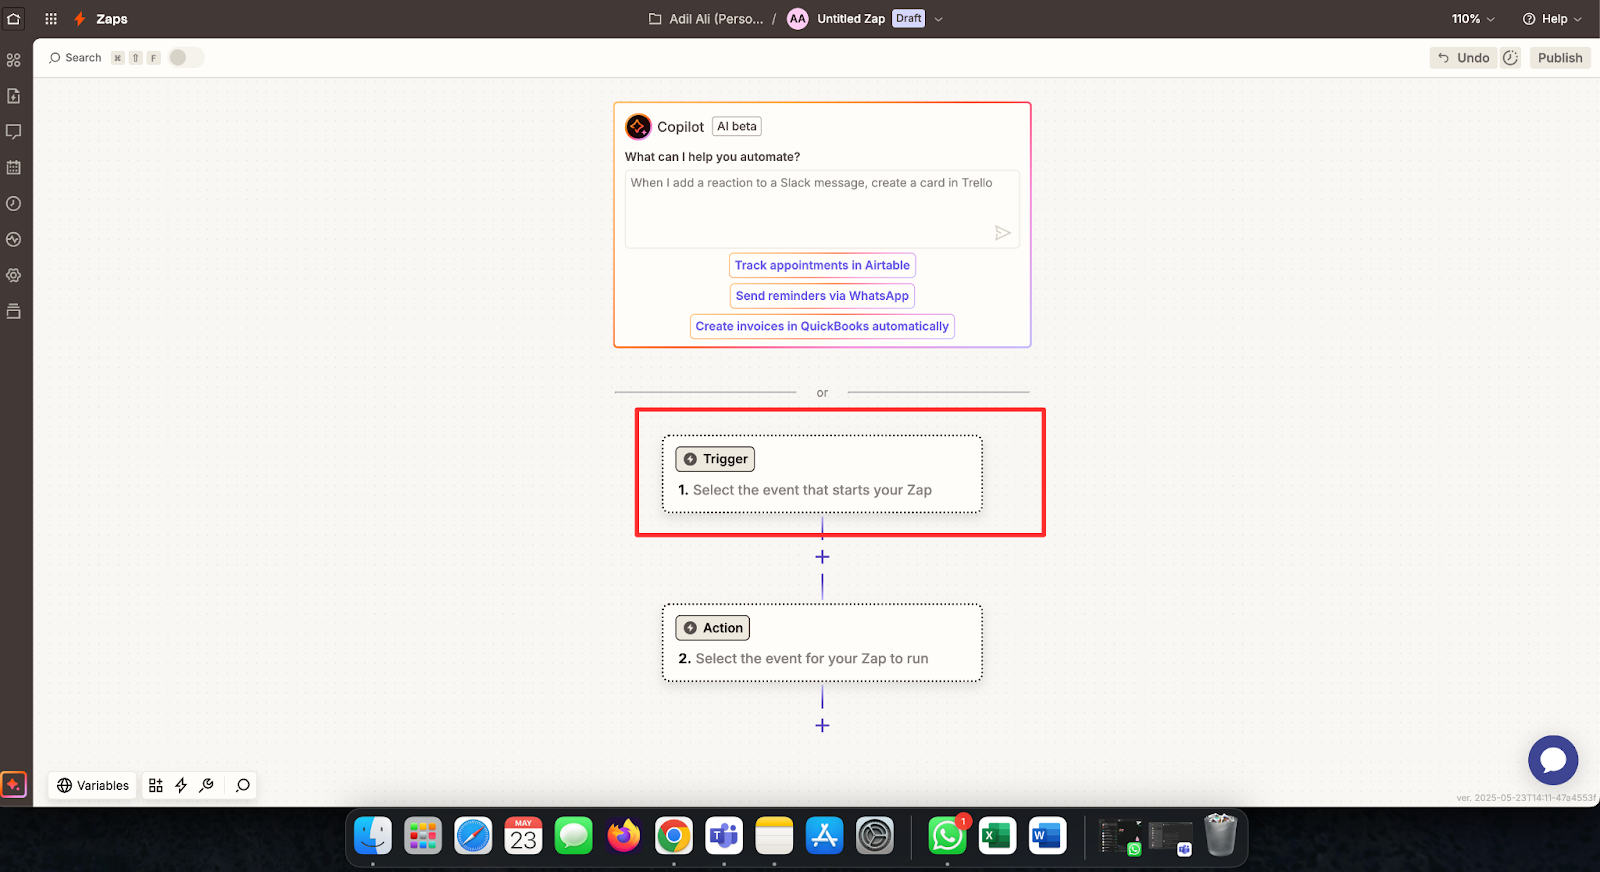
Step 1: Create a New Zap in Zapier
- Log in to your Zapier account.
- Click the "Create" button to start a new Zap.
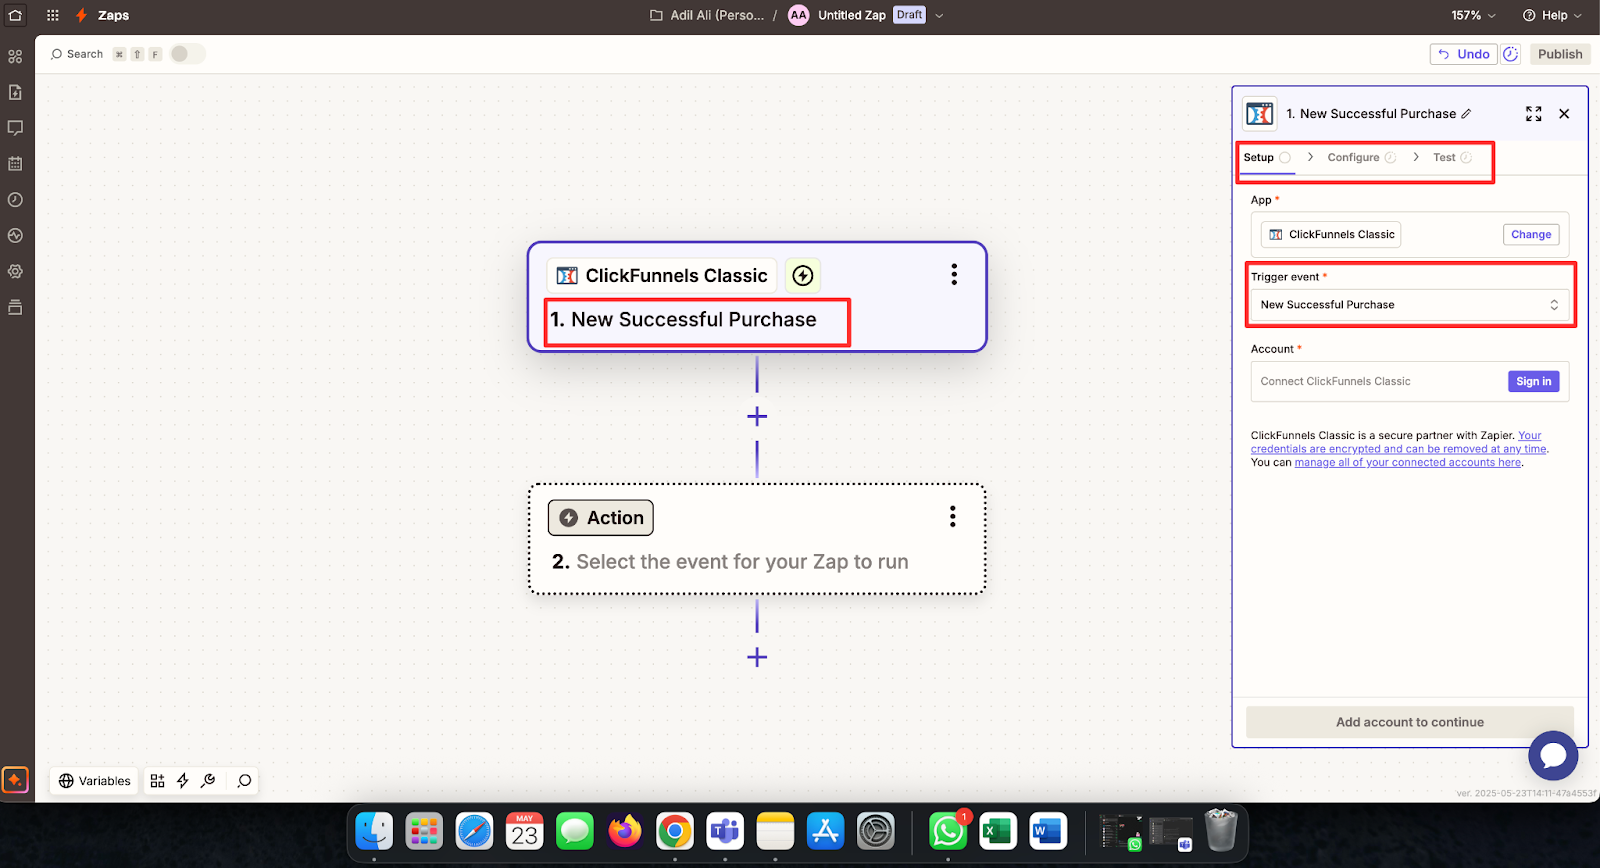
Step 2: Set Up the Trigger

- In the Zap editor, select ClickFunnels as the trigger application.
- Choose ClickFunnels Classic.
- Set the trigger event to "Successful Purchase" or a similar option that reflects a completed order.
- Connect your ClickFunnels account to Zapier by logging in and authorizing access.
- Follow the prompts to configure and test the trigger.
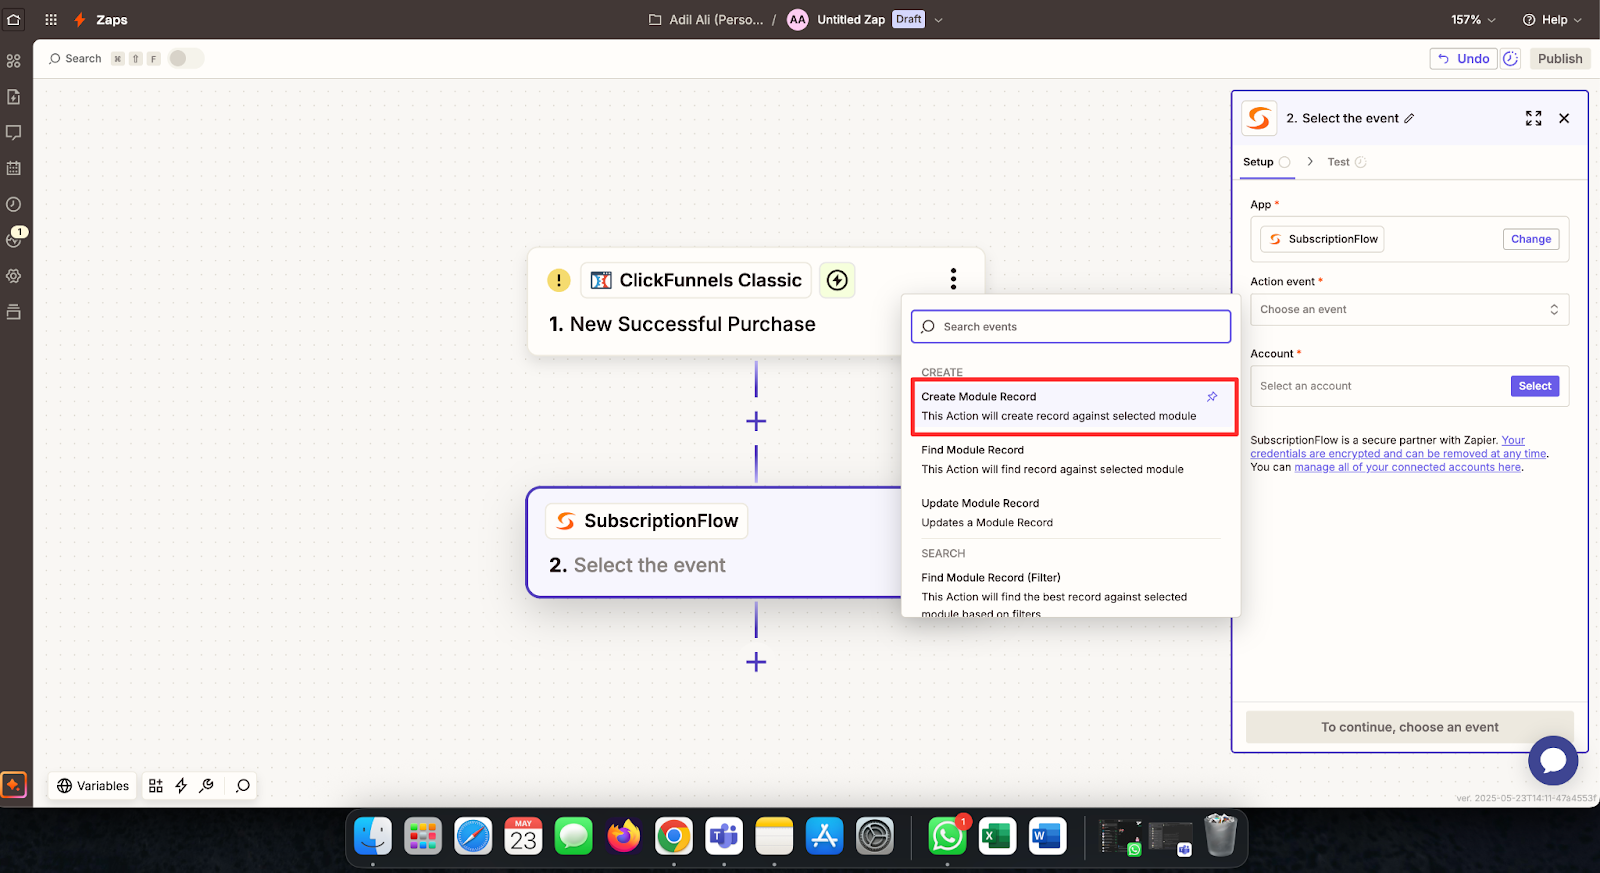
Once the trigger setup is complete, proceed to the Action step and search for “Subscription Flow”.
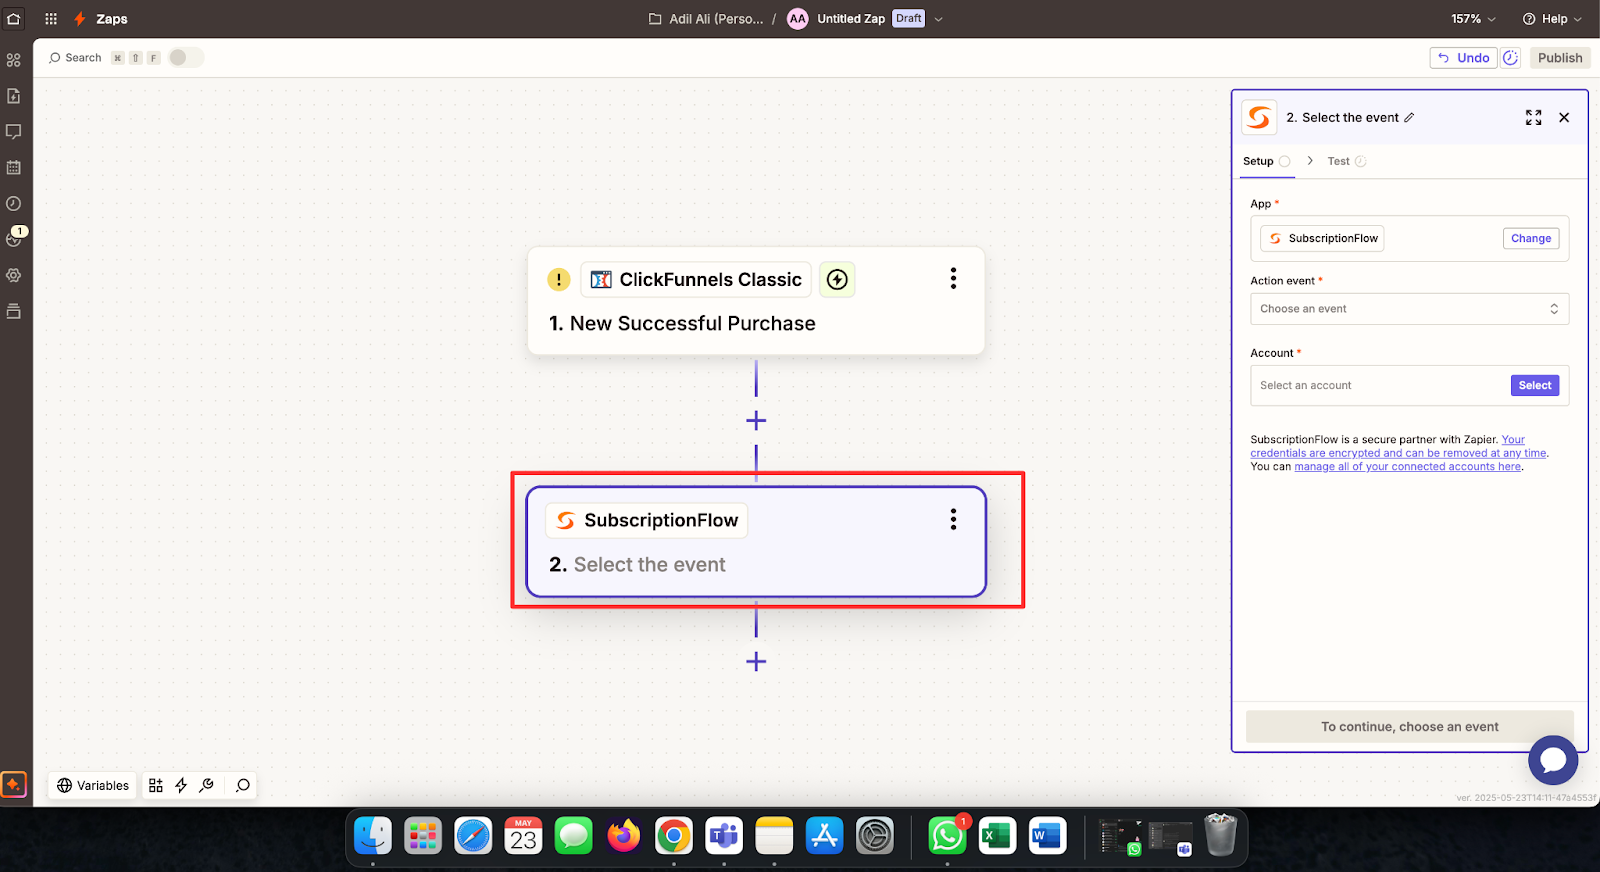
Here, you need to specify the action you want to perform in Subscription Flow. In our case, we are creating a new subscription. To do this, select the appropriate action trigger.
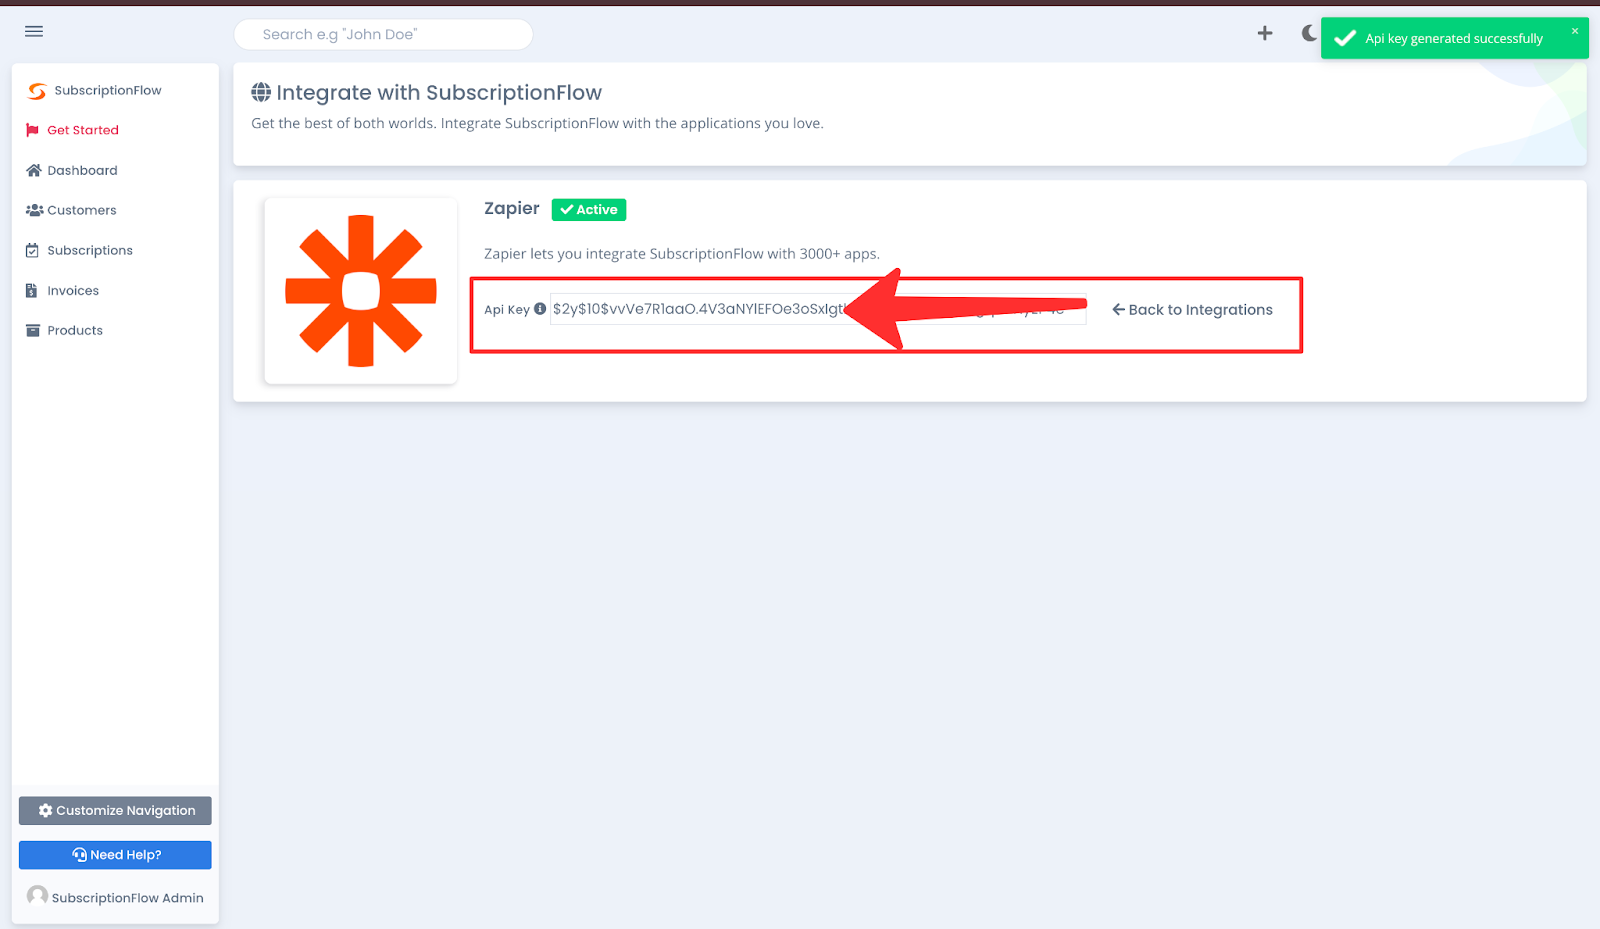
Next, connect your Subscription Flow account by entering your Instance URL followed by your API Key.
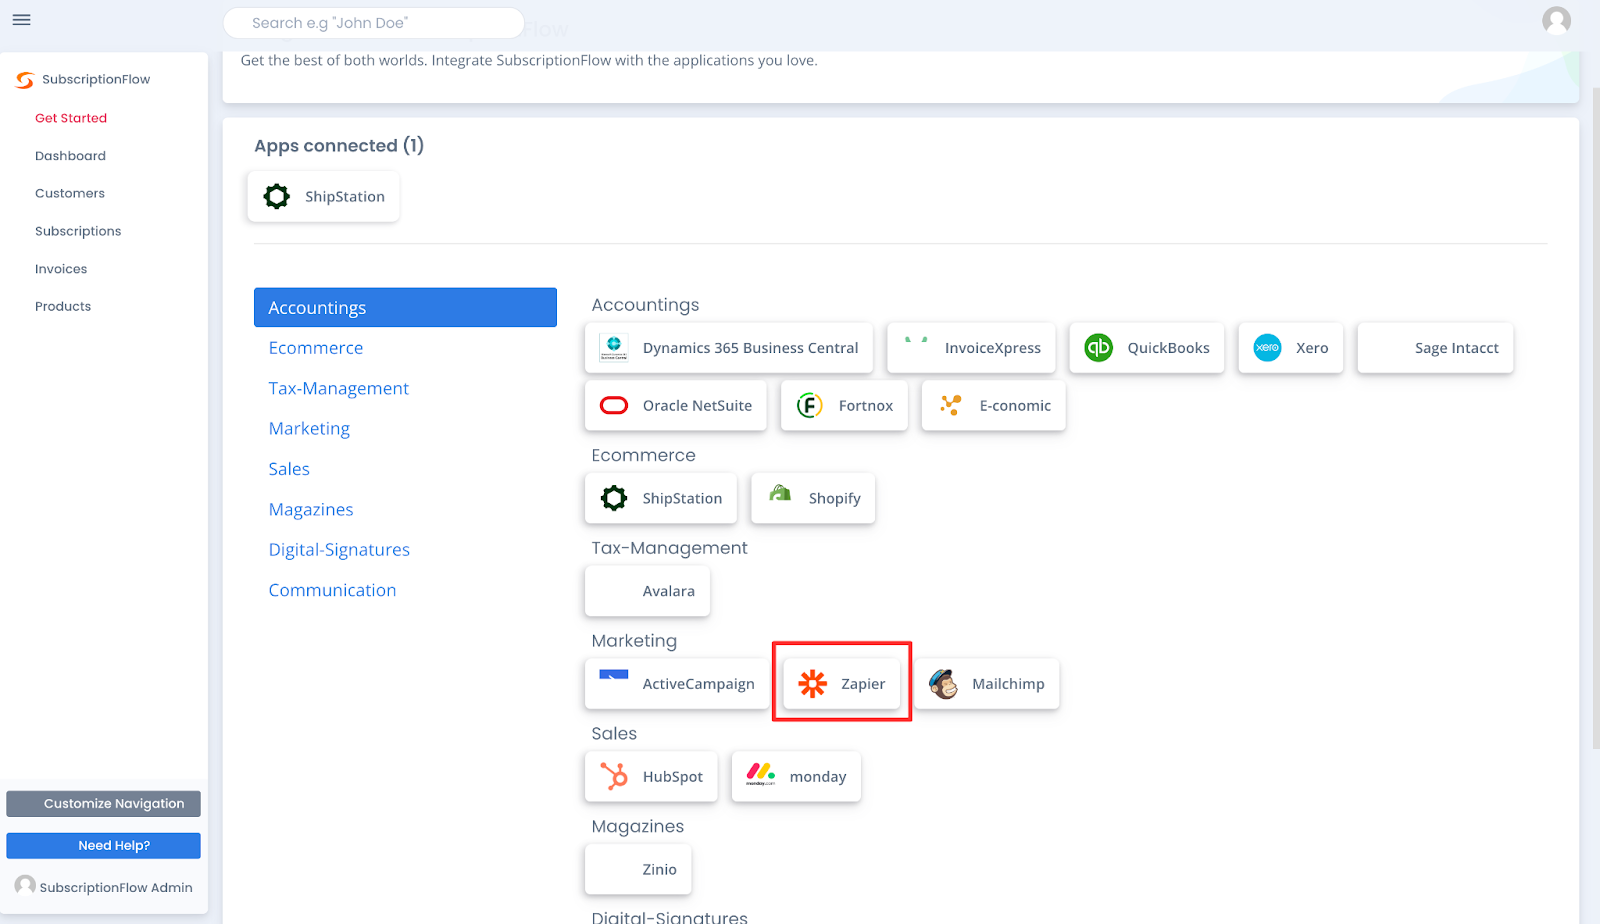
To obtain your API key, log in to your Subscription Flow account, navigate to Settings, and then select Apps.

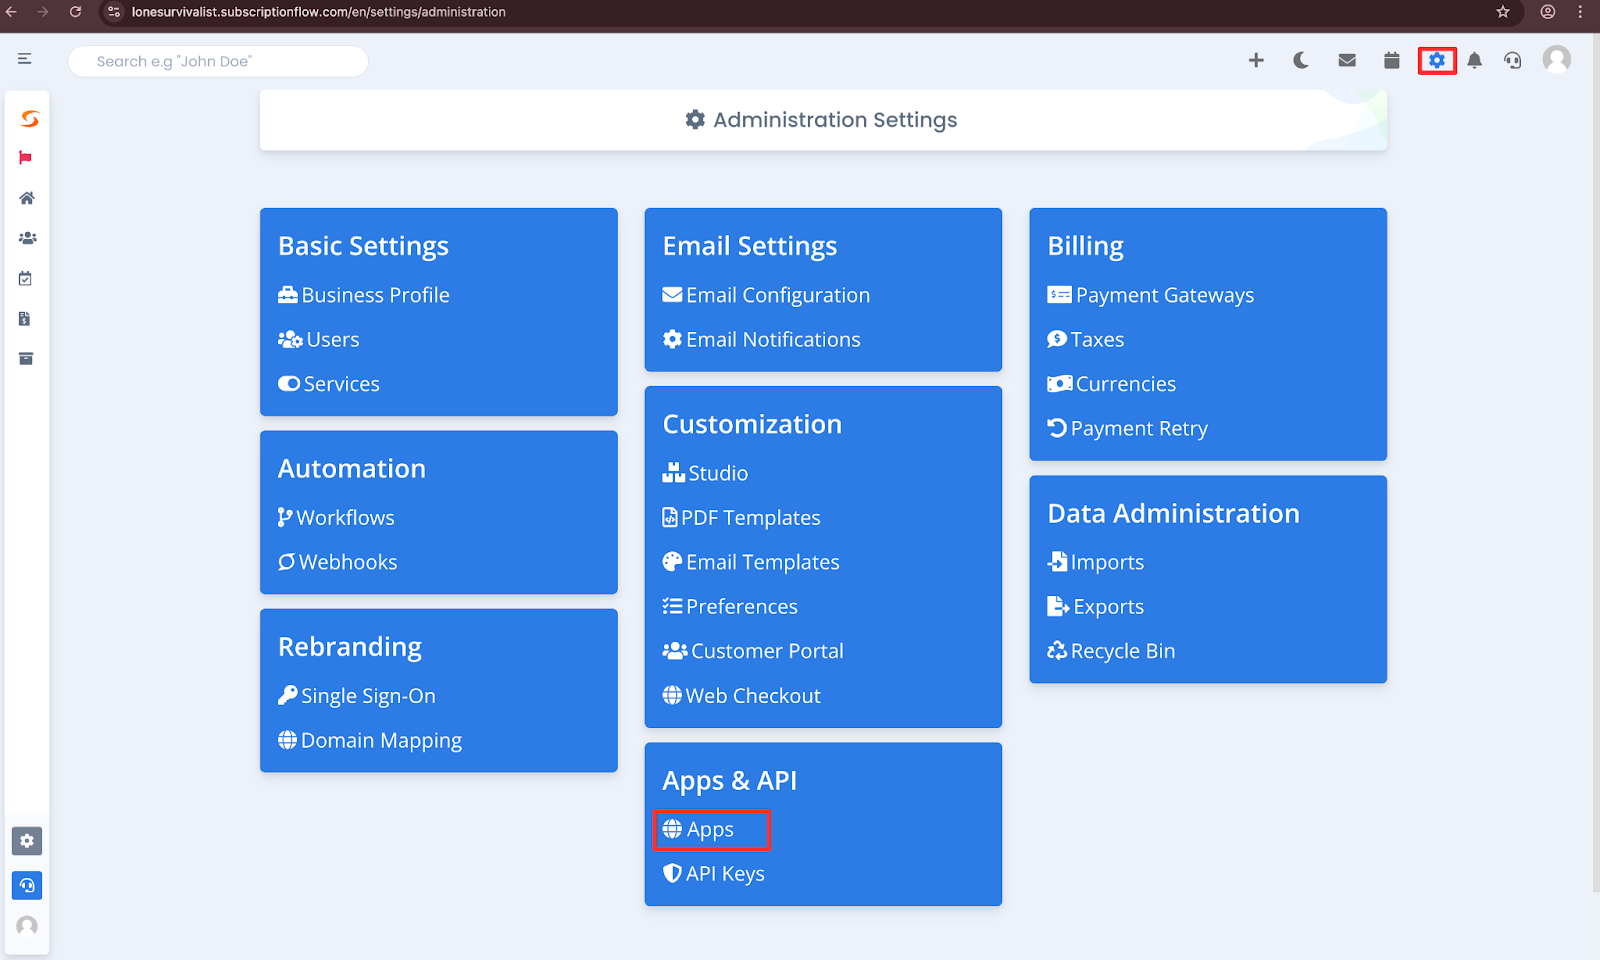
Now select Zaper here to connect.
Copy the API key and paste it into the second field during the Zapier account connection process.
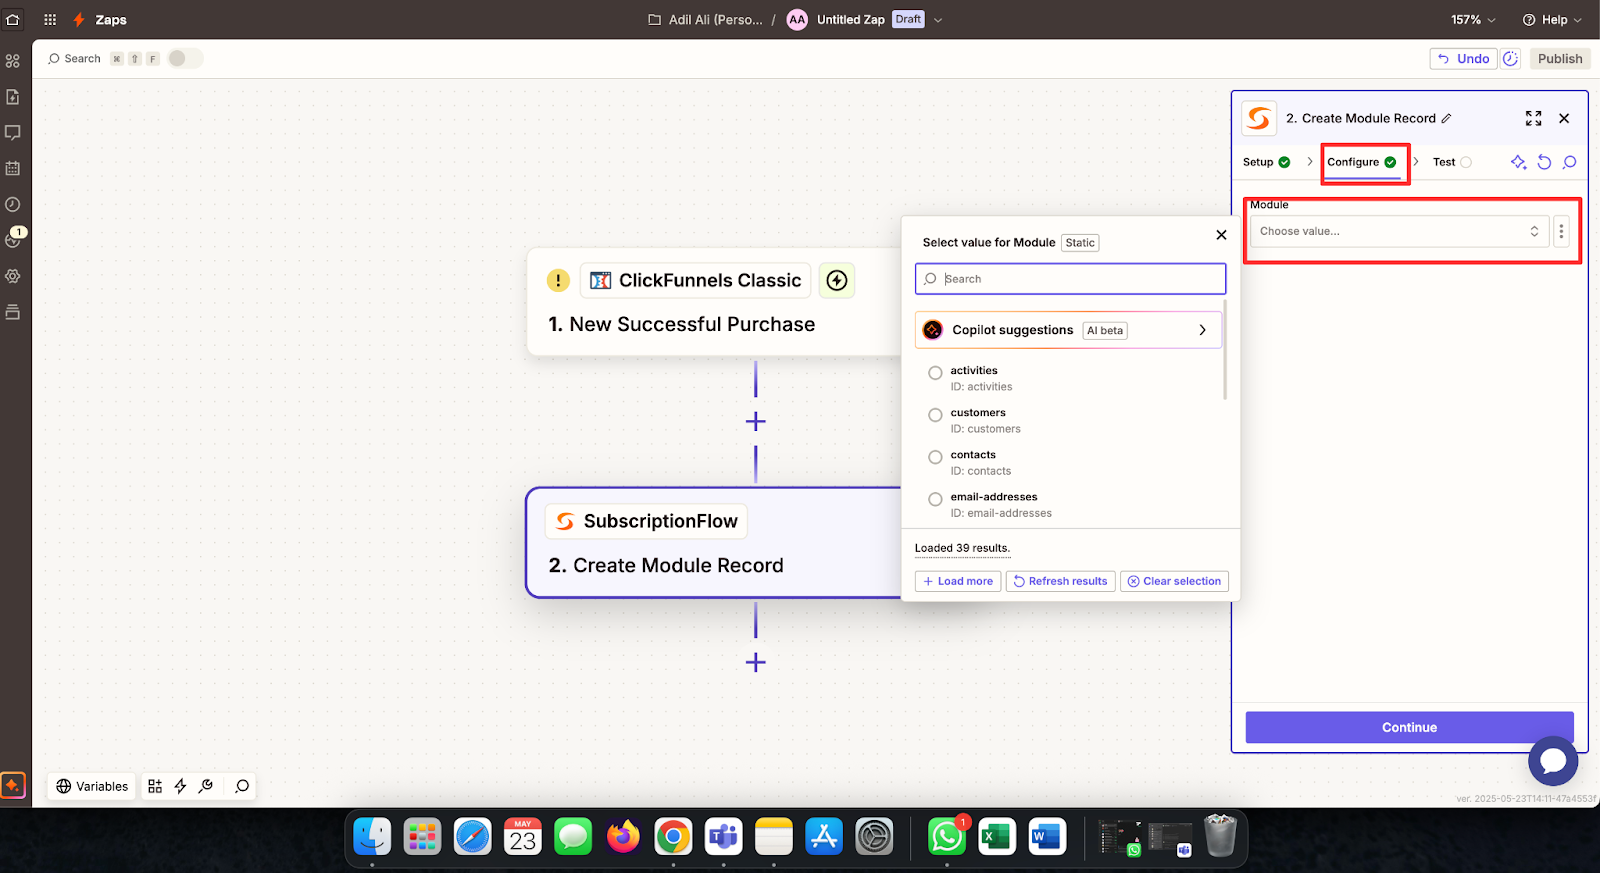
Once the account is connected, select your target module, which in this case is Subscriptions.
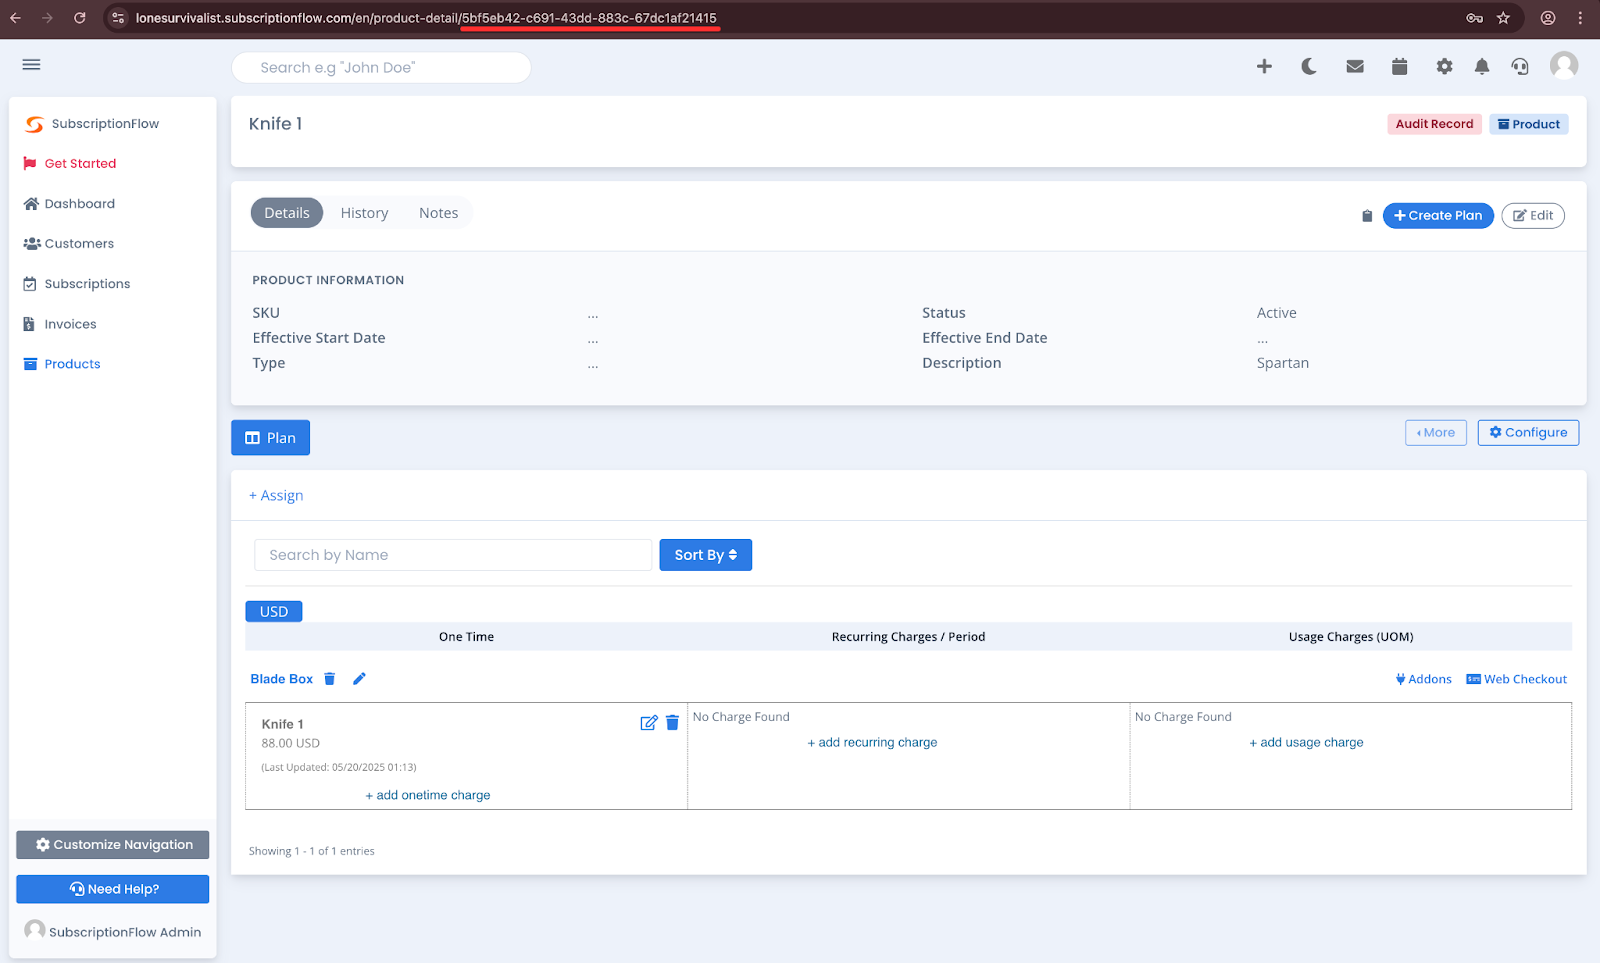
Next, enter the required details. Since you have only one product related to subscriptions, you can use its Product ID here. To find it, go to Subscription Flow, select the product, and copy its ID

You can find the ID in the URL. Copy it and paste it into the item ID field. Enter all other details related to this subscription in the same way. You can also use the ClickFunnels details.
Once all the information is entered, simply test and save it, and your integration will work perfectly.
Comments
0 comments
Please sign in to leave a comment.